top of page
Colour+Shine series
Mooni wobble card
Mooni wobble card
Zebra 0 gift box card set
Mimi Q happy fishing card
Carol happy farming card
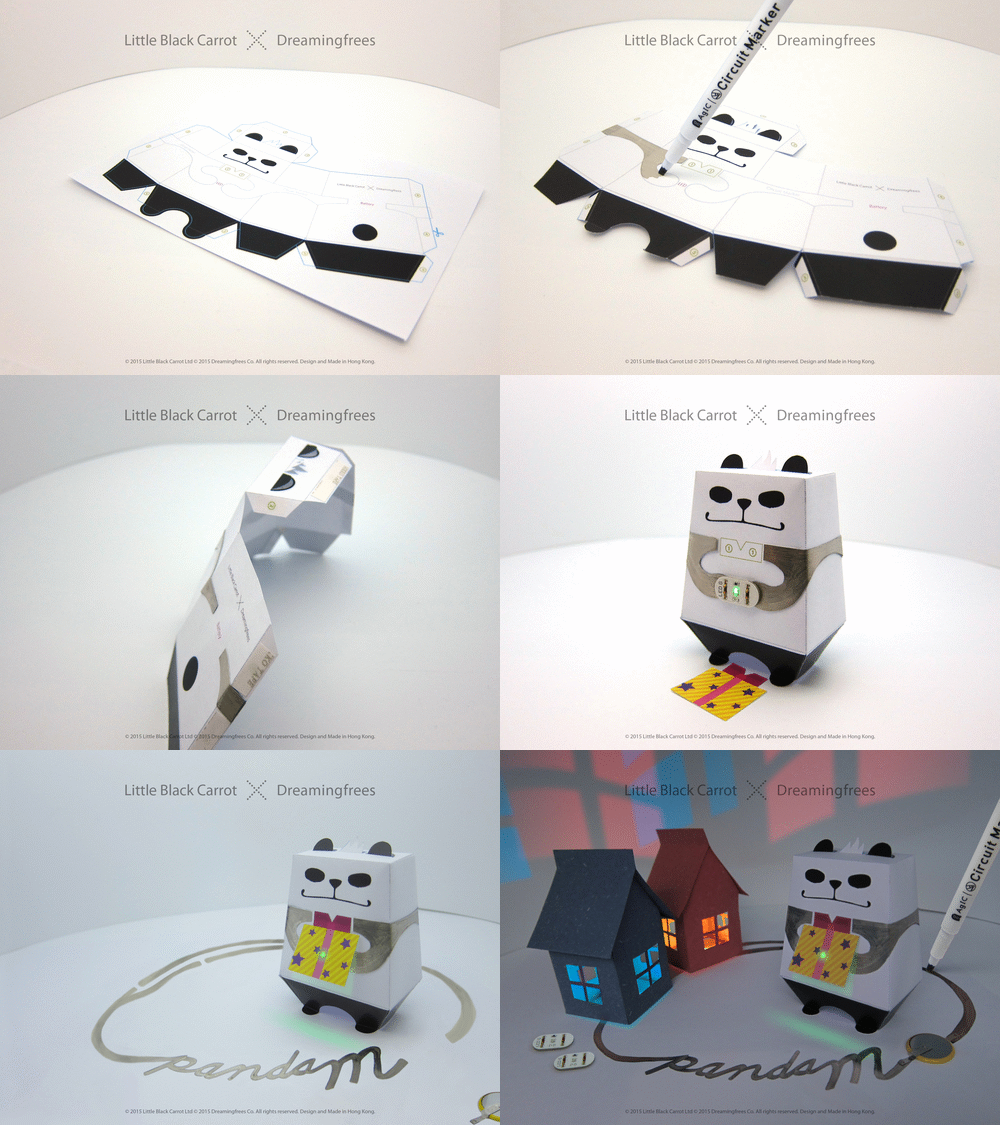
3D Panda M
3D Panda M

Color+Shine

Full Set

  • Papercraft Art

  • LED Light Module

  • AgIC Circuit Market x 1

  • Tombow Dual Brush ABT Pens x 5

STEM Set

  • Papercraft Art

  • LED Light Module

  • AgIC Circuit Market x 1

Paper Set

  • Papercraft Art

$ 150-390

超輕摺合傘
用傘禮儀語句
超輕摺合傘
超輕摺合傘
超輕摺合傘
超輕摺合傘
傘套

Mini Folding Umbrella

  • Size:19"

  • Pongee

  • Aluminum Frame

  • 3 folds, 6 Panels

$ 299/pc

How it works?
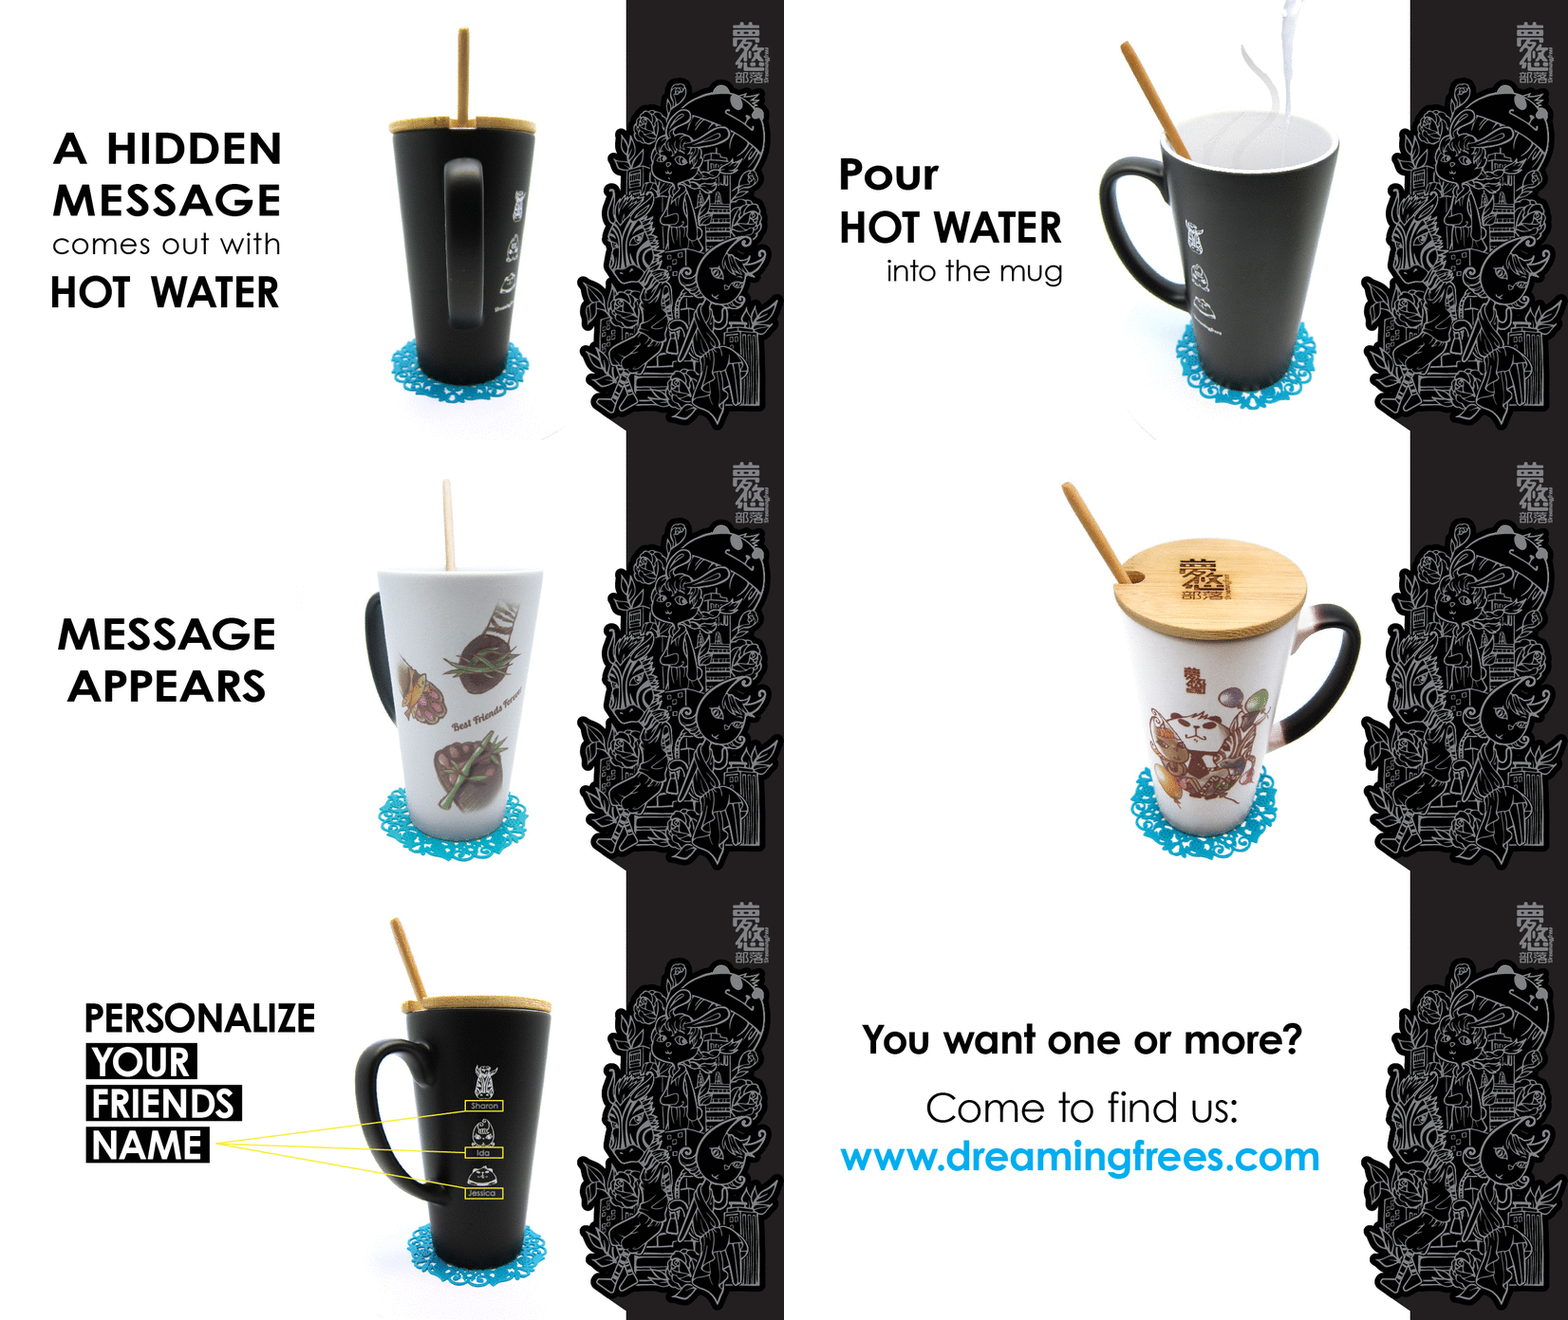
隱藏心意杯
只要加入熱水
隱藏圖案和字句會浮現眼前
"Best Friends Forever” 送給摯友最好禮物
另一面也有圖案呢
可刻上友人名字獨一無二!
可刻上友人名字

Hidden Message Mug

  • 475ml  (15cm height)

  • Ceramic Mug

  • Wood/Black or White Ceramic Cap

  • Wood/White Ceramic Spoon

$ 198

front
right
left
Lovers Mobile Case

Mobile Case

  • iPhone7/7Plus/6s/6Plus/5S/4S

  • Mirror Acrylic+Quality TPU

$ 128/pc

Find Your LOVE with Emperor Stargate
Cover
Content

Ziwei Doushu Booklet

A simple and scientific way to understand yourself & your destined life partner with ancient Chinese astrology ( Ziwei Doushu )

$ 218

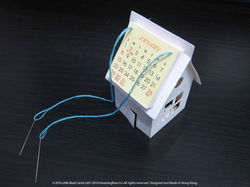
DIY可愛小屋月曆
準備工具包括白膠漿、針線、𠝹刀 / 剪刀、間尺和鉛筆
01:先看清楚紙紋,有紋是正面;平滑是背面
02:背面畫門口位置,圖中尺寸只作參考,DIY朋友可改門口位置及形狀
03:𠝹開門口位後擦掉鉛筆跡,在正面設計圖案
04:把所有摺位全部摺一下,順序黏貼標示位置
双面膠紙快但不夠穩;白膠漿慢但持久
05:用尺度插線位置如圖示
06:穿雙線入針
07:準備兩條線,線尾記得打結,穿針是困難部分,走針就麻煩了
08:用針篤穿月曆卡小黑點
09:用針線穿屋頂位
10:打結位到頂位
11:順序穿上 Jul> Aug> Sep> Oct> Nov> Dec
12:兩邊都穿好
13:打結時圓圈不要索得太緊,因為太緊揭月曆卡時變得困難
14:剪掉多餘部份
15:打結部分盡量轉到不明顯位置
16:試揭一下月曆卡,看看鬆緊度
完成啦!2018年剪掉月曆部份變成裝飾品也可以

Paper House Calendar

  • 180 gsm Diecut Paper

  • Calendar Cards (Jan-Dec 2017)

  • SIZE: 50mm x 50mm x 73mm

  • Electronic candle light

$ 38 (DIY)

$ 68/pc

lantern set
Mid Autumn Festival
Mid Autumn Festival
flower set
flower set
indoor decoration
indoor decoration
bag tag
bag tag
01:把包裝袋內所有東西拿出來,不要掉失任何一件。
02:首先用膠紙黏起膠片上的保護膜,膠片顏色看起來更漂亮,但要小心刮花膠
03:沿摺痕把內架摺成一個盒形。
04:由盒底開始做起,如圖示
05:先做內半圓,後做外半圓。
06:然後扣上旁邊封盒位。
07:放電子爉燭的內架完成了!
08:拿出十字形膠片套入電子爉燭。
09:膠片去到電子爉燭的最底部就變得很穩固。
10:四邊可以  向下摺 或 向上摺  發光高一點或低一點 自己話晒事
11:拿走電子爉燭旁的白色紙條。
12:開關掣推向上電子爉燭就會亮起來啊!(建議中秋節夜晚才進行亮燈儀
13:把電子爉燭和十字形膠片放入內架。
14:撕走雙面膠紙。
15:先貼底部。
16:再貼兩側。
17:別心急!快完成啦!
18:把Zebra 0下身套入下巴位置。
19:仔細看下巴是有一條坑位的。
20:如果覺得困難,可以先拿走內架,完成兩側下身套入步驟,再貼回內架。
21:另一邊做法相同。
22:用雙面膠紙貼在圖示位置。
23:幫Zebra 0配載型到爆燈的英式眼鏡。
24:接下來貼Zebra 0最愛的一根葉。
25:上太空都不忘填飽肚子呢!
26:竿上有一個小缺口套入內架圓洞位置。
27:大功告成!今年中秋你手上燈籠肯定搶盡風頭!

PVC Lantern

  • Zebra 0 (zebra) Lantern

  • Mimi Q (cat) Lantern

  • SIZE: 135mm x 206mm x 40mm

  • 0.3mm PVC

  • with Stick & Electronic candle light

  • Zebra 0 & Mimi Q Lantern
    for one set

$ 100/set

$ 68/pc

How it works?

3D Message Set 

  • 1  x Panda M Paper Art

  • 1  x Plastic Sheet

  • 1  x AgIC Circuit Marker

  • ​2 x House Paper Art

  • 2 x Coin battery

  • 3 x LED tag

$ 280

Postcard Set

  • 12 different cards for one set

  • SIZE: 140mm x 93mm

  • 310gsm Coated Paper

$ 40/set

Paper Bookmark

  • 2 different design ( Zebra / Cat )

  • Zebra 0 & Mimi Q for one set

  • SIZE: 153mm x 55mm

  • 250gsm Coated Paper

  • Handmade

  • Limited edition

$ 35/set

$ 20/pc

plastic bookmark
front
side
back

PVC Bookmark

  • Opened size: 304mm x 50mm

  • Folded size: 166mm x 50mm

  • 0.3mm PVC

$ 28/pc

bottom of page